Fabrication of mirrors involves cutting, edge finishing, silvering and sealing; Port Townsend experts guide you through each step so you understand how to choose the right glass, coatings and safety measures. You should be aware of sharp edges and hazardous chemicals during processing, and rely on professionals who enforce rigorous safety protocols. The result is a durable, optically precise mirror tailored to your needs.
Key Takeaways:
- Glass selection, precision cutting, edgework, and polishing establish fit and optical quality before reflective coating.
- Silvering is applied chemically, then sealed with copper and protective paints to prevent tarnish and improve durability.
- Final inspection, optional tempering/lamination, and careful packing ensure safety, longevity, and local code compliance for Port Townsend installations.
Overview of Mirror Fabrication
Historical Context
You see mirror-making evolve from polished bronze and obsidian to chemical silvering; Venetian glassmakers in the 1500s used mercury amalgams, then Justus von Liebig’s 1835 silver-nitrate reduction scaled production, and Pilkington’s 1952 float process standardized sheets to 2-6 mm, enabling mass production.
Modern Techniques
Today you most often see silvering via chemical reduction or vacuum-deposited aluminum; silver offers >95% visible reflectivity while aluminum sputtering delivers ~88-92%. Production uses float glass, CNC edging, tempering, and protective copper/paint backcoats. Handling involves fume control because processes use silver nitrate and reducing agents such as formaldehyde or glucose solutions.
In practice you might see batch silvering coat 10-30 panels per run at a local shop; vacuum deposition layers are typically ~100 nm thick for optical aluminum, applied in sputter or thermal-evaporation systems. For high-end work you’ll choose low-iron glass (often branded ‘Starphire’) to cut the green hue, and shops enforce PPE, local exhaust and chemical neutralization to mitigate hazardous waste.
Materials Used in Mirror Production
You’ll encounter a short list of core components: float glass sheets (commonly 3-6 mm), silvering agents like silver nitrate for chemical deposition, and protective layers such as copper and back paints. Industrial shops often use vacuum-deposited aluminum or silver for high uniformity; silver gives about ~95% visible reflectivity. For a practical how-to overview consult How To Make A Glass Mirror – How Are Mirrors Made?
Types of Glass
You’ll choose glass by balancing cost, clarity, and safety: standard float glass dominates residential mirrors, low-iron glass reduces the green tint for high-clarity applications, tempered glass increases safety by breaking into small granules, and laminated glass keeps shards bound for impact resistance. Any choice affects weight, edge-finishing time, and installation hardware.
- Float glass – common, economical, 3-6 mm typical.
- Low-iron glass – high-transparency, used in galleries.
- Tempered glass – safety-rated, used in public installations.
- Laminated glass – holds shards, used where code demands.
| Glass Type | Typical Use / Notes |
|---|---|
| Float | General mirrors; low cost, good flatness |
| Low-iron | High-end applications needing color accuracy |
| Tempered | Safety installations; increased strength |
| Laminated | Security and glazing where fragment retention is required |
Reflective Coatings
You’ll find two dominant methods: chemical silvering (Tollens-type) and vacuum metal deposition (PVD/sputtering). Chemical silvering can deliver very high reflectivity with a thin metallic silver layer, while PVD gives consistent coatings over large batches; silver ≈95% reflectivity, aluminum ≈90-92%. Protective copper plus back-paint are standard to prevent corrosion and abrasion.
In practice, you’ll specify coating by application: decorative mirrors often use vacuum-deposited aluminum for cost-efficiency, whereas precision optical mirrors use silver with a protective copper layer and multiple backcoats to reach long-term stability; chemical silvering requires controlled reduction chemistry and strict humidity control during curing, and handling silver nitrate and reducing agents involves corrosive, hazardous materials that must be managed in ventilated, PPE-equipped facilities to avoid contamination and operator risk.
The Fabrication Process
In this stage you move from design to physical parts, following precise steps to meet optical specs: cutting and shaping to tolerance, thorough surface prep to remove molecular contamination, and controlled coating deposition in vacuum. Typical projects use 3-12 mm glass, finish flatness of <λ/4 (≈158 nm) over the aperture, and verification with interferometry and spectrophotometry to ensure the final mirror meets performance and durability targets.
Cutting and Shaping
You start with CNC routers, diamond saws, or waterjet cutting to hit tolerances of ±0.5 mm for general glazing and ±0.1 mm for optics. Edge grinding and beveling to a 3-5 mm radius reduce stress risers and the risk of chipping. Wear cut-resistant gloves and eye protection, as fresh edges are sharp and thermal shocks from improper handling cause fractures; sample parts often go through a 48-hour anneal to relieve residual stress.
Surface Preparation
You remove oils, particulates, and ionic contaminants using a sequence: solvent wipe, ultrasonic bath with 0.5% alkaline detergent, multiple deionized water rinses, then IPA blow-dry in a cleanroom. Achieving surface roughness <1 nm RMS and flatness better than λ/4 ensures the coating will adhere uniformly and your reflectivity won’t suffer from scattering. Contamination leads to coating failure and visible defects.
You validate cleanliness with contact-angle measurements (<10° target) and white-light interferometry for micro-roughness; typical ultrasonic cycles run 5-10 minutes at 40 kHz, followed by a 30-60 minute bake at 50-70°C to drive off adsorbed moisture. When a client mirror failed accelerated humidity testing, this exact protocol corrected the issue, reducing surface sodium levels below 1 ppm and eliminating pinhole formation during silver deposition.
Coating Application
You apply reflective metals by thermal evaporation or magnetron sputtering in vacuum (base pressure ~1×10⁻⁶ Torr) to deposit 80-200 nm of silver or aluminum at 0.1-1.0 nm/s. Controlled rate and substrate rotation produce uniform thickness and spectral performance; silver delivers >95% reflectance across 400-700 nm, while aluminum is more durable in UV. Pinholes or poor adhesion are the most damaging defects to watch for.
For durability you often add a 100-200 nm copper interlayer and protective dielectric or paint backing; in one Port Townsend job a 120 nm silver + 150 nm copper stack plus three polyurethane coats gave 96.5% average visible reflectance and passed 96-hour salt-spray testing. Post-coat QA includes adhesion tape tests, spectrophotometry, and microscopic pinhole inspection to certify your mirror for installation.
Quality Control Measures
You enforce traceability from raw float glass certificates through final packaging, maintaining an environmental baseline of 40±5% humidity and 20-22°C to prevent coating defects. Routine batch checks include spectral reflectance targets of ≥95% and flatness measured by interferometry to λ/10. Your documentation logs lot numbers, operator, and inspection results so nonconforming parts are isolated within 24 hours and corrective actions are tracked.
Inspection Techniques
You use a combination of 10× visual inspection, 50× stereo microscopy, and automated interferometry for flatness mapping. Inline CCD scanners detect surface anomalies >50 µm while a 5000K light booth reveals coating streaks and striae. For coatings you perform spectral reflectometry and an ASTM D3359 cross-cut adhesion test, flagging samples that deviate more than 2% from target reflectivity.
Defect Identification
You classify defects into scratches, digs/pinholes, coating delamination, edge chips, and inclusions, using MIL-PRF/industry scratch‑dig standards for accept/reject criteria. Deep surface scratches and coating lifts are most dangerous for optical performance, while small digs may be acceptable on decorative pieces if within documented tolerances.
When diagnosing defects you measure size, depth, and location: scratches wider than ~25 µm or coating lifts exposing substrate are typically rejected for architectural mirrors, whereas precision optics often require scratches <5 µm and <λ/10 flatness. You record defect density (e.g., defects per 1000 cm²) and run root-cause analysis-often finding handling, AR coating bath contamination, or edge chipping during grinding as primary sources-then implement targeted fixes within the next production shift.
Applications of Mirrors
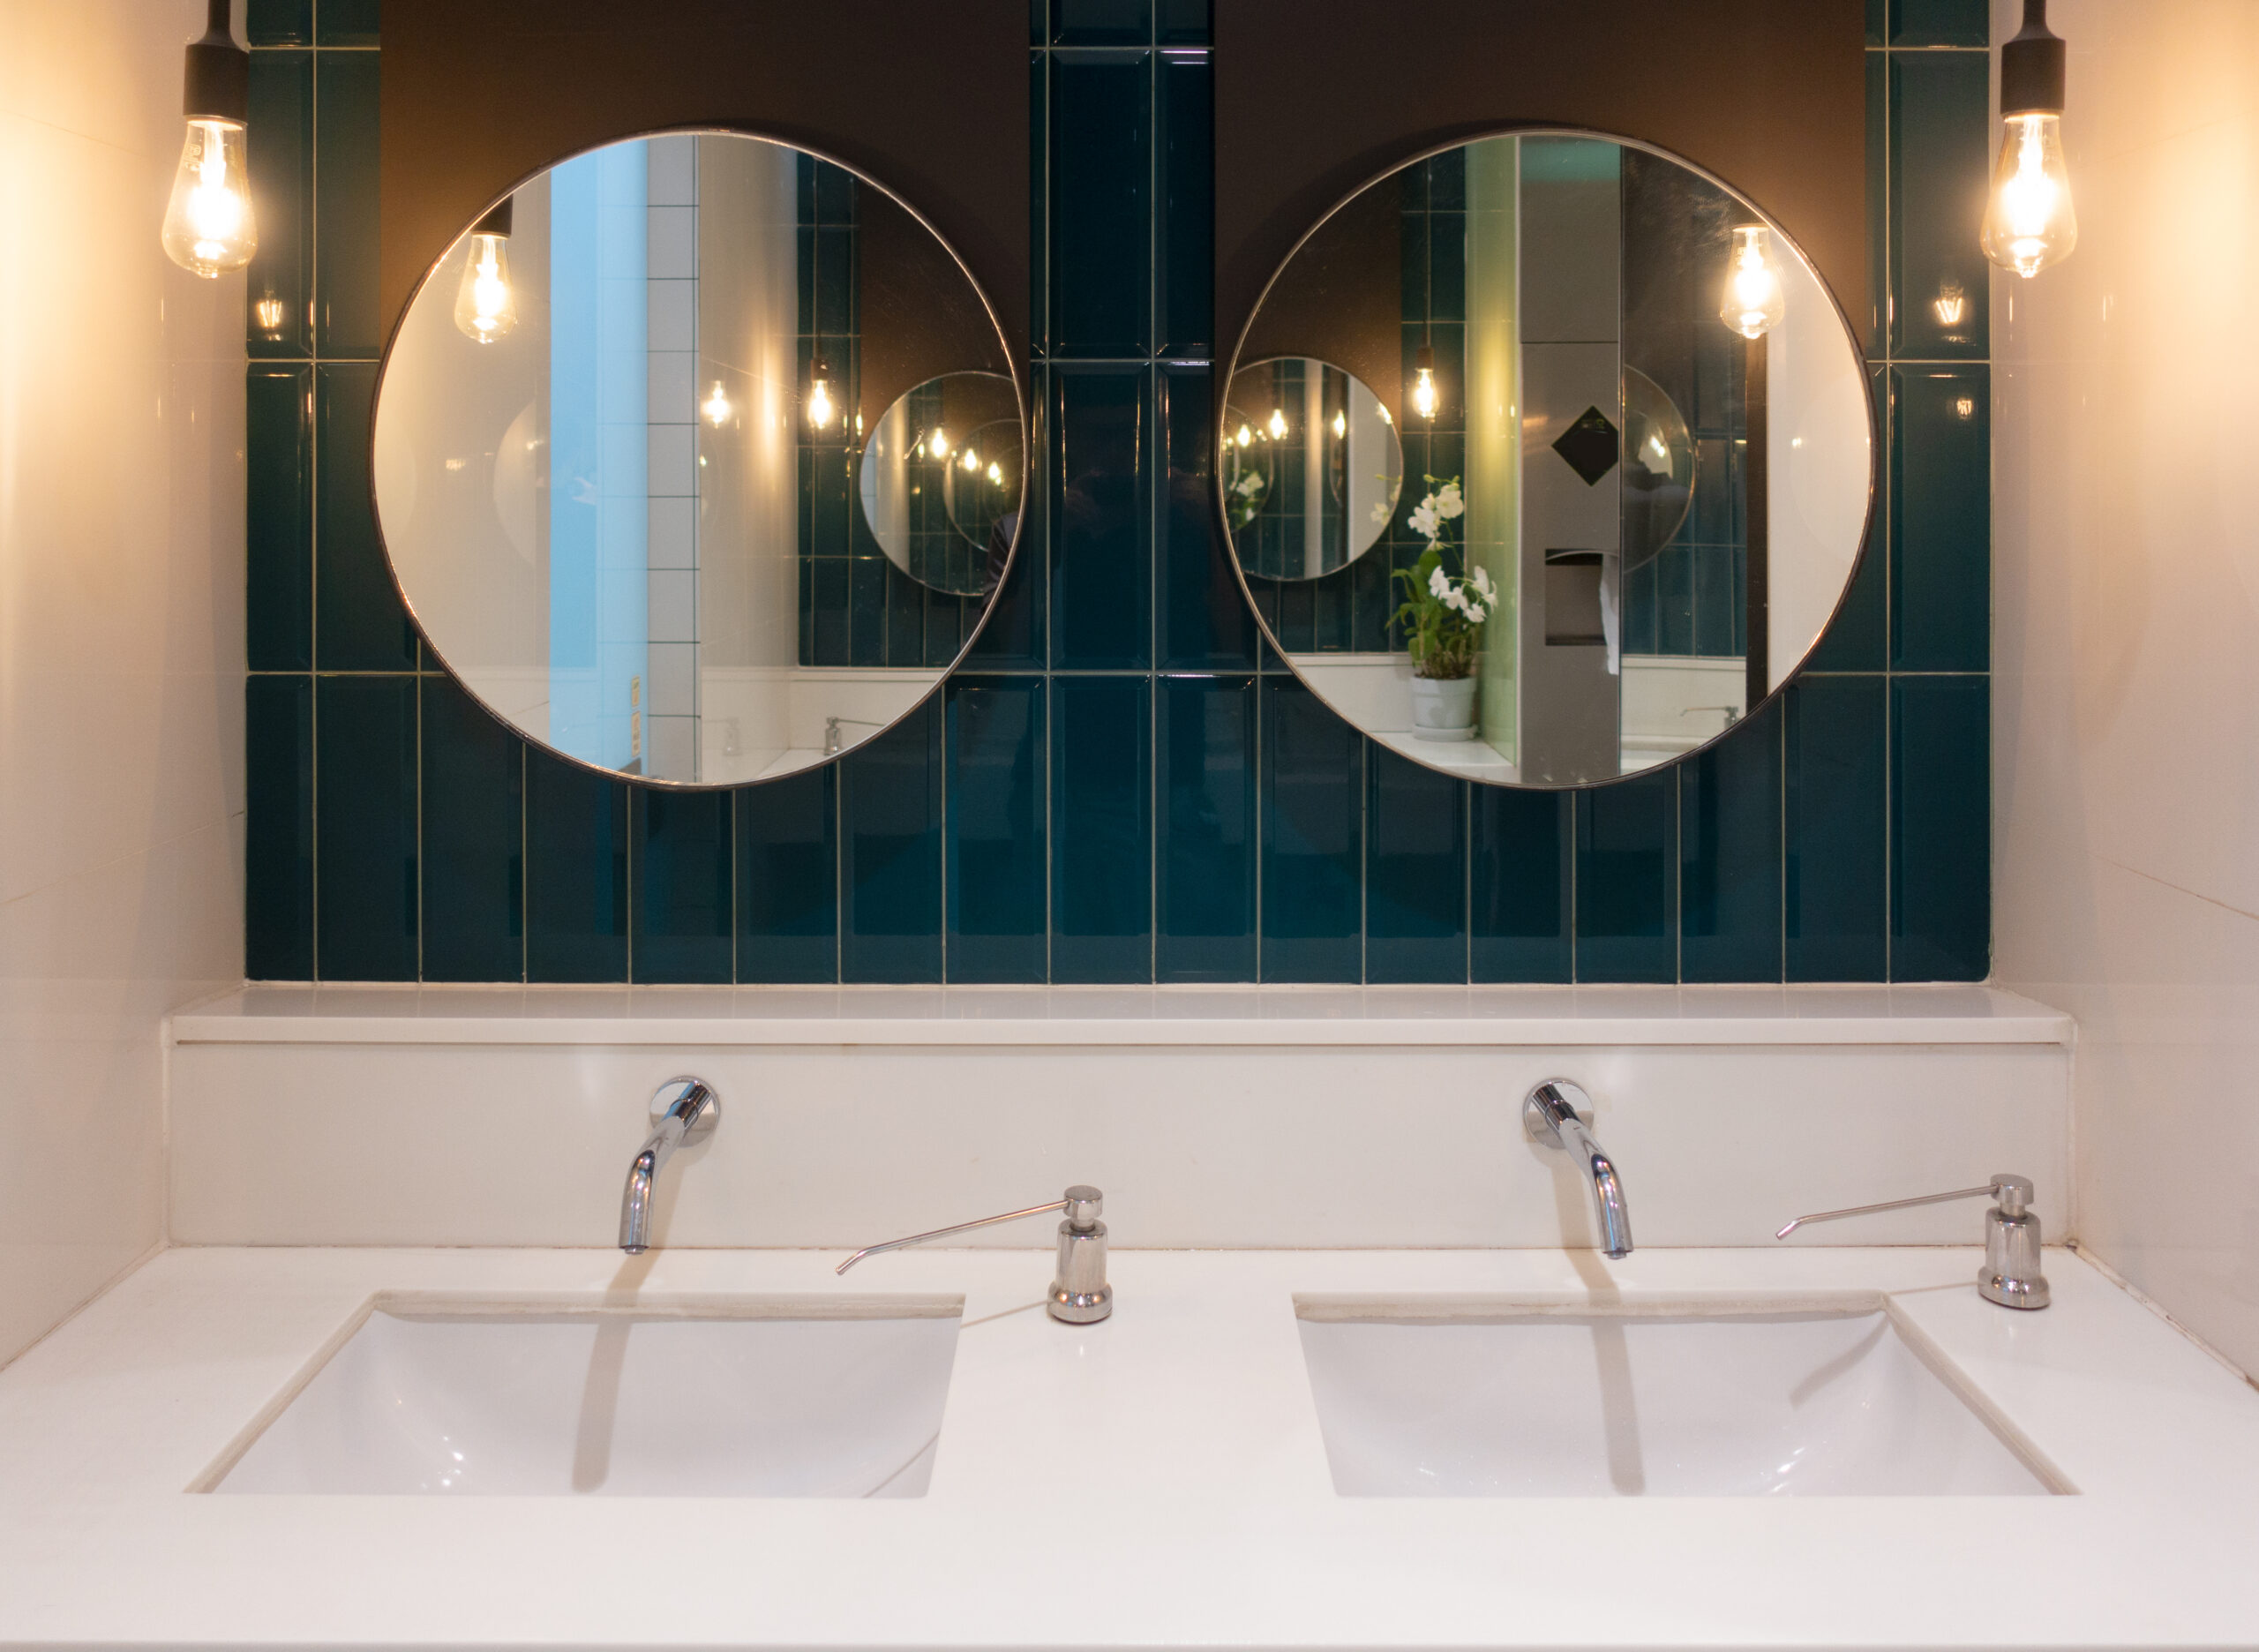
You find mirrors across settings from bathrooms and dressing rooms to optical instruments and marine binnacles; typical glass thicknesses run 3mm, 4mm or 6mm. Often manufacturers apply a silver backing plus copper and protective paint to reach ~90-95% visible-light reflectivity. In high-stress locations you’ll specify tempered or laminated units that meet safety standards like ANSI Z97.1 to mitigate breakage and injury.
Residential Uses
You’ll install full-length mirrors (commonly 24×72 inches) in bedrooms and 3-6mm medicine-cabinet or vanity mirrors in bathrooms; choose 4mm tempered for wet areas and backlit LED mirrors (3000-4000K, CRI >90) for accurate color. Manufacturers offer anti-fog heating pads and low-iron options for clearer reflections, and frameless polished edges give a contemporary look while avoiding bulky frames.
Commercial Uses
You’ll see mirror walls in gyms and dance studios typically 8-12 feet high, retail full-lengths in fitting rooms (24×72-30×80 inches), and low-iron mirrors in salons and galleries to preserve true color; specify tempered or laminated glass plus a safety film in high-traffic installs to reduce liability. Mounting choices include channels, standoffs, or mirror mastic depending on substrate and load.
You should account for coastal corrosion in Port Townsend by using marine-grade stainless steel fittings and specifying extra copper-seal protection on the silvering; leave an expansion gap of about 1/8-1/4 inch with neoprene spacers and use neutral-cure silicone or ASTM C920-rated mirror adhesives for long-term stability. Proper edge polishing and protective topcoat extend service life in humid, salty air.
Challenges in Mirror Fabrication
You routinely contend with sub-micron tolerances and material limits: achieving surface flatness of λ/10 or better at 633 nm, vacuum pressures near 10⁻⁶ Torr for deposition, and coating thickness control to ±1 nm. Small alignment errors or particulate defects can drop yields by >30% in a run. You also balance cost-sputter targets and ion-beam time can exceed thousands of dollars per batch-against the performance your clients demand.
Technological Constraints
You depend on precision tools-CNC grinding, pitch-polish, and ion-beam figuring-to hit tight specs, yet equipment scale limits mirror size: many shops cap at 1-1.5 m apertures without custom rigs. Control systems must manage sub-nanometer layer uniformity across substrates; otherwise you see phase errors and scattering. Power supplies, vacuum pumps, and target life are common bottlenecks, with maintenance downtime reducing throughput by 10-20% annually.
Environmental Considerations
You must protect coatings and processes from humidity, salts, and airborne particles; operating in an ISO 5 cleanroom (≤3,520 particles ≥0.5 µm per m³) with temperature stability around ±0.1-0.2°C prevents stress, warpage, and premature tarnish. Coastal sites can accelerate silver sulfide formation from chloride aerosols, so you often add protective overcoats or enhanced storage to preserve reflectivity.
Waste streams and emissions demand attention: solvents, silver-bearing rinsewater, and spent developer require segregation and recovery to meet local regulations. You can reduce environmental impact and long-term cost by installing silver recovery units and activated-carbon VOC scrubbers; shops report up to 80-90% silver reclamation with centrifugal or electrochemical systems. Also plan for energy: vacuum systems and bakeout cycles are significant power draws that affect operating budgets and permitting.
Summing up
The mirror fabrication process involves far more than cutting glass. From selecting the right substrate and preparing ultra-clean surfaces to applying reflective coatings, edge finishing, and quality control, every step affects clarity, durability, and safety. In coastal areas like Port Townsend, WA, factors such as humidity, salt air, and installation conditions make professional fabrication especially important to prevent corrosion, distortion, and premature failure.
By working with experienced local specialists, homeowners and businesses can ensure their mirrors are properly fabricated, safety-rated, and built to last. Precision cutting, sealed silvering, polished edges, and careful inspection result in custom mirrors that meet both aesthetic and performance expectations. Whether the project is residential or commercial, professional mirror fabrication in Port Townsend, WA delivers better optical quality, longer lifespan, and reliable code compliance.
Trusted Mirror Fabrication in Port Townsend, WA
For expert custom mirror fabrication in Port Townsend, WA, Groves Glass Solutions provides precision craftsmanship backed by decades of glass experience. Our team fabricates mirrors to exact specifications, using high-quality materials, proven coating methods, and strict quality controls suited for coastal environments. From bathrooms and historic homes to commercial interiors, Groves Glass Solutions delivers durable, professionally fabricated mirrors you can trust.
Contact Groves Glass Solutions today to discuss your mirror fabrication needs and experience the difference of working with local glass experts.